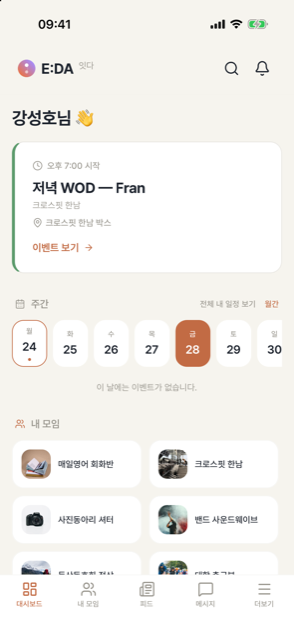
Setting up a group in E:DA: join types, interest tags, and boards
What each option at group creation decides: choosing between open, approval, and closed join types, interest tags that drive recommendations, built-in boards, optional features, and a three-step checklist.
· five:hours
Half of running a group well comes down to how you set it up. Pick the wrong join type and either anyone walks in or nobody can; leave interest tags empty and you lose a channel for new members. This is part 1 of our deep-dive series: what each option on the group creation screen actually decides, in order.
1. Name, handle, category
Along with the group name you choose a handle — a unique address in @name form that becomes your group's URL, so keep it short and memorable. The category (study, fitness, class, club, …) is how the explore page classifies your group, so pick the one closest to what you actually do.
2. Join type — one of three
| Type | Behavior | Best for |
|---|---|---|
| Open | Anyone joins instantly | Company clubs, open workshops, running crews |
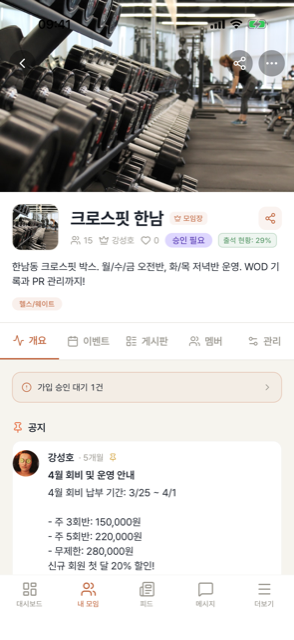
| Approval | Request → admin approves | Study groups, clubs — screen with an application message |
| Closed | Invite code only | Academies and studios that only take enrolled members |
With approval you review each applicant's message ("tell us why you want to join") before deciding; with closed, the group may appear in explore but nobody gets in without an invite. You can change the join type later in settings, so it's fine to start conservative.
3. Interest tags — the channel new members arrive through
Select interest tags in group settings (e.g. Fitness, Learning, Dance) and your group appears in the recommendations of users who picked the same interests. For a pilates studio owner, one "Mind & Body" tag adds an acquisition channel beyond Instagram DMs. Groups without tags never show up in recommendations — set them right after creating the group.
4. Boards — notices and free posts come built in
Every new group starts with a Notice board and a Free board. Notices are admin-only so important announcements never get buried, while the free board is open to all members. You can also add a Resource board for members-only archives — class videos, session materials, and so on.
5. Optional features — turn on only what you need
Extras like passes and challenges are off by default. Enable them in group settings when you need them, so the app never starts out cluttered with menus you don't use. Running a paid class? Turn on passes. Want to lift study attendance? Turn on challenges.
Three things to do right after creating
- Create the first event — register recurring schedules in one go with a recurring template.
- Share the invite link — post it in your existing chat room or SNS.
- Check interest tags — unless you run a private group, don't skip this.
A checklist card on your group home walks you through these steps. Creating a group is free.